
Global DevOps Bootcamp - Provisioning the workitems
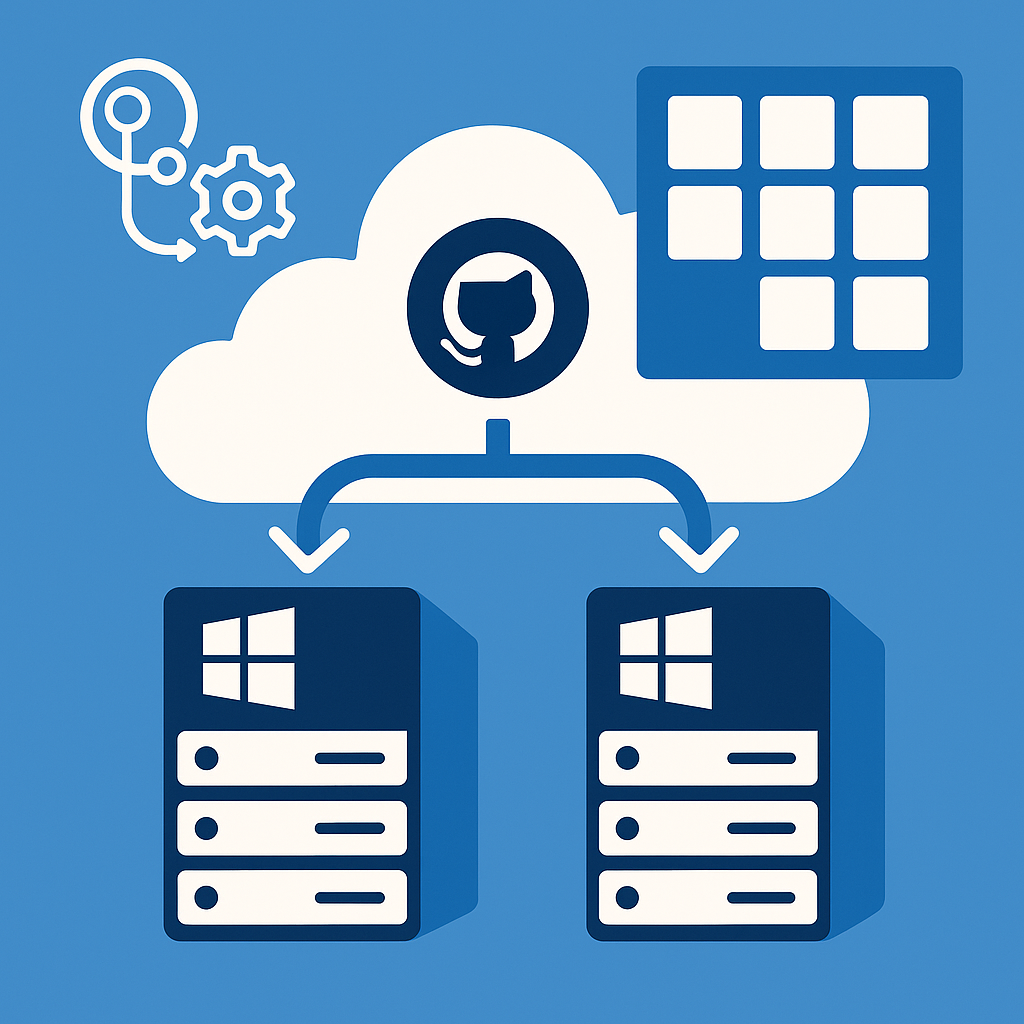
On the 16th of June, Xpirit organized the Global DevOps Bootcamp. An event that took place all over the world as multiple venues (75) in all kind of countries (30) worked on DevOps challenges. To present those challenges to the participants, we used, of course, Visual Studio Team Services.
With the help of PowerShell we created around 1000 team projects in a single VSTS instance. Some scaling issues moved that to three different instances which were also located more closely to the regions the participants were in. Next, to creating the team projects, we also needed to have users and groups. Some clever scripting and the AD was filled with around 8000 accounts.
A build pool (we used private build agents), a webhook (to call our scoreboard application to process the done workitems) and some more stuff was also set up with Powershell commands interacting with the REST API of VSTS.
For the contents of the bootcamp, we used markdown files. We had around 12 challenges with 55 achievements created and that content needed to be of top quality. Weeks in advance we (Xpirit and Solidify) worked on the contents and quality of the stories, added step by step manuals and created content like scripts and SQL files where needed. That review process was done in a typical software fashion; a branch from master was created, stories were edited and a pull request was done against master in order to merge it back after a review.
However; from markdown to workitems is a different story. For this, we needed a way to understand what was in a markdown file and somehow send this to VSTS.
Parsing the markdown
First, we needed to make sure all markdown files adhered to some sort of structure. We relied on a number of concepts; the use of headers and frontmatter.
A header of level 1 was the title of the story, a level 2 header denoted a section in the workitem. Like description, acceptance criteria, links etc. The contents inside (or actually between the headers) was to be converted to HTML as VSTS workitem fields can easily contain HTML elements. Only links we needed to parse out as they were formatted with bullets.
The frontmatter is actually a YAML block at the top of the file and contained properties. It indicated the code we used for points, the effort and the type of workitem (Feature or PBI).
So a sample markdown file would look like this:
---
code: 34NIY00O
effort: 10
bonus: false
required: true
type: Product Backlog Item
---

# Add Azure Web App and SQL Server to the resource group #

## Description ##

You need to deploy resources to the resource group to make it useful. The resource group is the container where resources can be created that in a sense belong together. The proof of concept that GDBC Inc. wants to create consists of a Web Application and a Database.

### Achievement ###
In the Azure portal you will create a new Azure Web App with a simple App Service Plan. You will also create an Azure SQL Server that can later be used to contain the data of your Web application.
### ###
Using the Azure Portal  you can connect to the SQL Database to create a table and add some data. Create a table called TestArtist containing an ID and names of artists. Attached you will find a script called create-artists.sql.

## Acceptance criteria ##
* When you browse to the Azure website, you will see the welcome screen of web apps where they explain how to deploy applications
* A SQL Database has been created containing 1 table TestArtist

## Links ##
- [Manage an App Service plan in Azure](https://docs.microsoft.com/en-us/azure/app-service/app-service-plan-manage)
- [Create an Azure SQL database in the Azure portal](https://docs.microsoft.com/nl-nl/azure/sql-database/sql-database-get-started-portal)
- [Azure portal: Use the SQL Query editor to connect and query data](https://docs.microsoft.com/en-us/azure/sql-database/sql-database-connect-query-portal)
- [Publish your Hello World application with Visual Studio 2017](https://docs.microsoft.com/en-us/dotnet/core/tutorials/publishing-with-visual-studio)
We had a dotnet core console application that uses the Markdig library to parse the file and do the conversion to HTML. It also detected the frontmatter blocks and used YamlDotNet to extract the properties. We ran this over all the markdown files in the repository and converted the found results into an object structure that we could serialize to a single JSON file.
This file contained entries like below:
[...
{
    "Id": "F001-P002",
    "StoryType": 2,
    "Description": "<p>You need to deploy resources to the resource group to make it useful. The resource group is the container where resources can be created that in a sense belong together. The proof of concept that GDBC Inc. wants to create consists of a Web Application and a Database.</p>",
    "Title": "Add Azure Web App and SQL Server to the resource group",
    "AcceptanceCriteria": "<ul>\n<li>When you browse to the Azure website, you will see the welcome screen of web apps where they explain how to deploy applications</li>\n<li>A SQL Database has been created containing 1 table TestArtist</li>\n</ul>\n",
    "Properties": {
      "code": "34NIY00O",
      "effort": "10",
      "bonus": "false",
      "required": "false",
      "type": "Product Backlog Item"
    },
    "Hyperlinks": [
      {
        "Name": "Manage an App Service plan in Azure",
        "Link": "https://docs.microsoft.com/en-us/azure/app-service/app-service-plan-manage"
      },
      {
        "Name": "Create an Azure SQL database in the Azure portal",
        "Link": "https://docs.microsoft.com/nl-nl/azure/sql-database/sql-database-get-started-portal"
      },
      {
        "Name": "Azure portal: Use the SQL Query editor to connect and query data",
        "Link": "https://docs.microsoft.com/en-us/azure/sql-database/sql-database-connect-query-portal"
      },
      {
        "Name": "Publish your Hello World application with Visual Studio 2017",
        "Link": "https://docs.microsoft.com/en-us/dotnet/core/tutorials/publishing-with-visual-studio"
      }
    ],
    "Attachments": [
      {
        "Name": "create-artist.sql",
        "Link": "..\\..\\Challenges\\F001-P002-ManuallyCreateAzureResources\\content\\create-artist.sql"
      }
    ],
    "Filename": "F001-P002-P705-ManuallyCreateAzureResources.md",
    "ValidChallenge": true
  },...]
We only needed to run this process once as the parsing could take time. My colleague Rob Bos hooked up the build and release of our VSTS site containing the challenges and tooling and triggered a process on a change in source code (thus the markdown files) which would result in the tooling parsing the files, checking if there are no missing properties and even provisioning a team project with the just edited challenges repository. DevOps to the max!
Provisioning workitems
Having the json with stories was the first step, next was the provisioning of those into a team project. The tooling took the json file as its input and called the VSTS instance using the REST api. By just iterating through all the stories and setting the right fields, we created the Feature and PBI workitems.
This is all handled by creating Json Patch documents:
  JsonPatchDocument patchDocument = new JsonPatchDocument
            {
                new JsonPatchOperation()
                {
                    Operation = Operation.Add,
                    Path = "/fields/System.Title",
                    Value = story.StoryName
                },
                new JsonPatchOperation()
                {
                    Operation = Operation.Add,
                    Path = "/fields/System.Description",
                    Value = story.Description  ?? string.Empty
                },
                new JsonPatchOperation()
                {
                    Operation = Operation.Add,
                    Path = "/fields/Microsoft.VSTS.Common.AcceptanceCriteria",
                    Value = story.AcceptanceCriteria ?? string.Empty
                }
            };
For hyperlinks, you need to use relations:
  foreach (var hyperlink in story.Hyperlinks)
            {
                patchDocument.Add(
                        new JsonPatchOperation()
                        {
                            Operation = Operation.Add,
                            Path = "/relations/-",
                            Value = new
                            {
                                rel = "Hyperlink",
                                url = hyperlink.Link,
                                attributes = new { comment = hyperlink.Name }
                            }
                        }
                   );
            }
While file attachments is almost similar but you need to create the file first:
 foreach (var attachment in story.Attachments)
            {
                var file = Path.Combine(Environment.CurrentDirectory, attachment.Link);
                if (File.Exists(file))
                {
                    // upload attachment to store and get a reference to that file
                    AttachmentReference attachmentReference = Client.CreateAttachmentAsync(file).Result;

                    patchDocument.Add(
                        new JsonPatchOperation()
                        {
                            Operation = Operation.Add,
                            Path = "/relations/-",
                            Value = new
                            {
                                rel = "AttachedFile",
                                url = attachmentReference.Url,
                                attributes = new { comment = attachment.Name, name = attachment.Name }
                            }
                        }
                    );
                }
                else
                {
                    ConsoleWriter.WriteWithIndent(ConsoleColor.DarkRed, 3, $"Unable to find file {attachment.Link}.");
                }
            }
With help from the microsoft.teamfoundationserver.client library, we could just call the right methods which would invoke the underlying REST interface.
WorkItem result = Client.CreateWorkItemAsync(patchDocument, _project, "Product Backlog Item", bypassRules: true).Result;
All this code was wrapped inside a dotnet console application using Oakton which allowed us to create commands with options. This made it easy to call from the command line in our overall tooling.
Putting it all together in the big loop that created the team projects and all the settings, we were able to relatively quickly provision team projects in VSTS with everything included in a fully automated manner. Combined that with our internal build and release system to validate the structure and see the rendered contents each time we do a check in proved very valuable.


Leave a comment