
Kubernetes on Azure
There are a lot of resources on how to setup Kubernetes on Azure, but they require some prerequisites, so I wanted to make a step by step guide here.
The intent is not the explain what Kubernetes is and does, but to get you started quickly. At the end, you will have a Kubernetes cluster running in Azure and you can connect to it via your web browser.
Install the Azure CLI
Make sure you install the Azure command line interface. Version 2 is the current one which allows you to use the az command.
The instruction depends on the type of operating system, but all the steps are outlined in the Microsoft documentation.
I’m using Windows here, so I could just download the MSI directly. Follow the setup and when done, open a PowerShell box and type
az
This should return something like
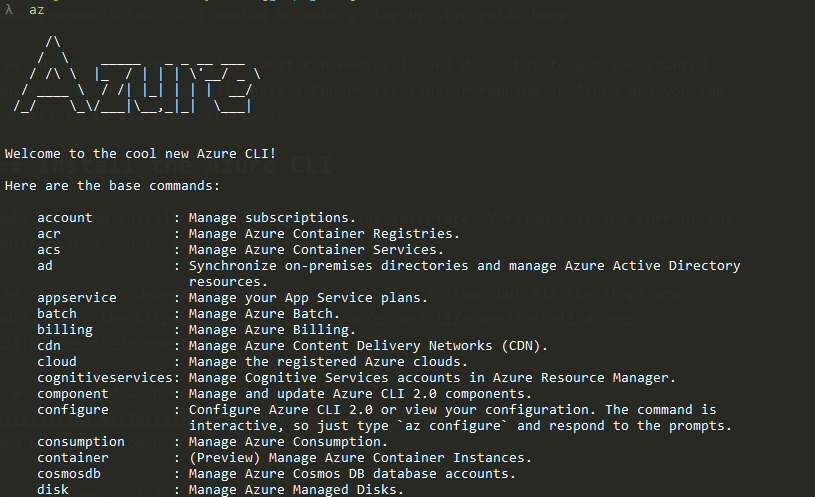
If it does not, make sure you installed it correctly, have it in your path, reopen a command prompt (to refetch the environment variables).
We first need to log in, so issue the following:
az login
This will point you to a web page where you fill in the given code and login. When done, it has a connection between your account and the Azure tooling.
Time to start deploying…
Resource group
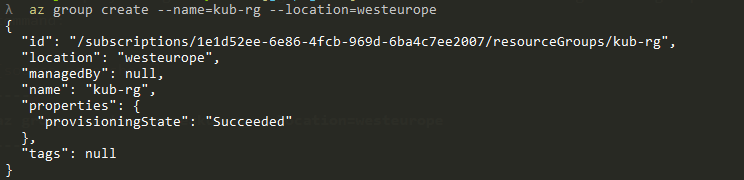
We will deploy using a resource group, so we first create one using the az group command:
az group create --name#kub-rg --location#westeurope
I call my group kub-rg and locate it in west europe. After creation, it will show some details.
Kubernetes
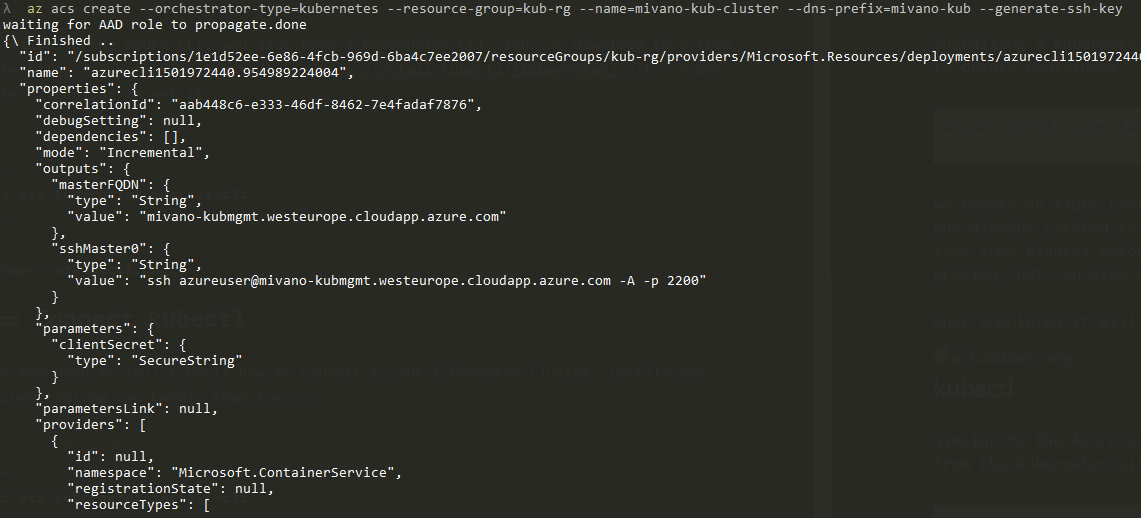
Installing a Kubernetes cluster works via the same AZ tooling since it allows you to create containers.
az acs create --orchestrator-type#kubernetes --resource-group#kub-rg --name#mivano-kub-cluster --dns-prefix#mivano-kub --generate-ssh-key
We create an Azure Container Service, using the kubernetes type option. We use our already created resource group and give it a name and DNS prefix. This will take some minutes before it completes. A Windows container option is in public preview, but can also be created by specifying the ‘–windows’ option.
Once completed it will show you an overview.
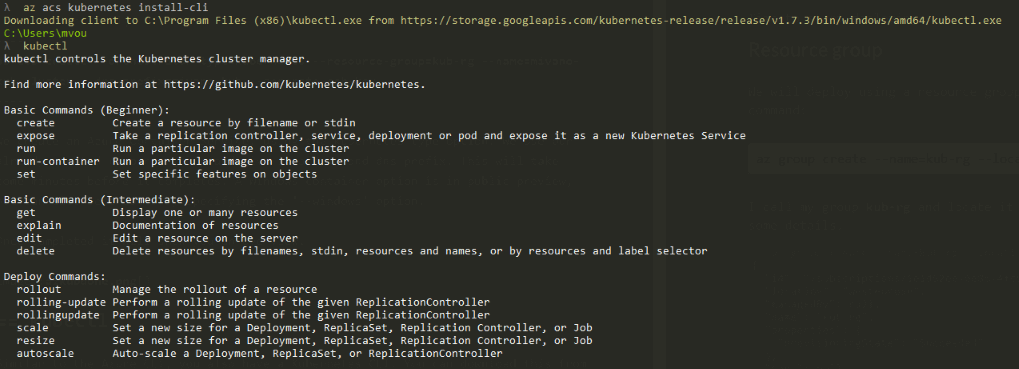
kubectl
Similar to the Azure CLI, you also have a Kubernetes CLI. You can download this from the [Kubernetes] (https://kubernetes.io/docs/tasks/tools/install-kubectl/) site or use the AZ tooling to get it:
az acs kubernetes install-cli
Connect kubectl
We now need to tell kubectl how to connect to our Kubernetes cluster. Luckily the Azure tooling can handle that for us.
az acs kubernetes get-credentials --resource-group#kub-rg --name#mivano-kub-cluster
This will not return anything, so let’s check if we are indeed able to connect.
kubectl get nodes
You should see a list of nodes.

You can now send commands to your Kubernetest cluster running in Azure.
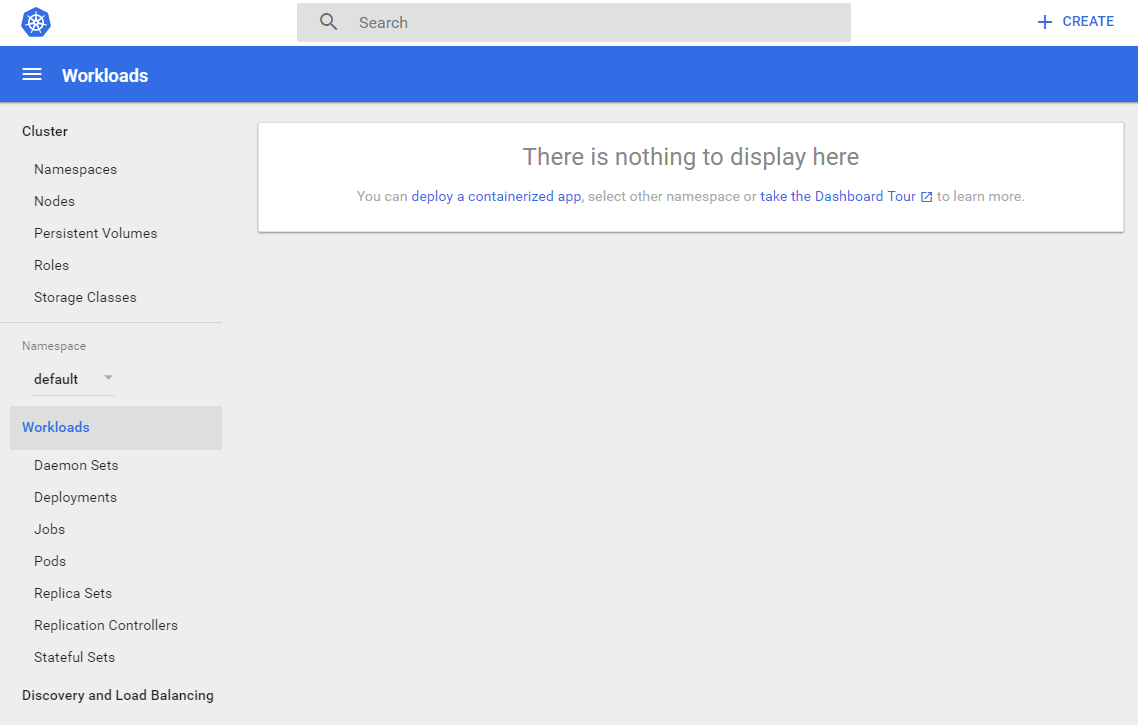
Use the dashboard
If you are a CLI guy, then stop here, but if you want to see a nice dashboard, keep reading. Kubernetes has a UI which you can invoke using the following command:
az acs kubernetes browse -g kub-rg -n mivano-kub-cluster
This will start a webserver and opens your browser pointing to your localhost. You will see a nice UI where you can do most of the work.
Deleting the cluster
Remember that everything you run in Azure cost money, so clean if you are not using it anymore. Since we created a resource group, we can just drop this group to get rid of everything.
az group delete --name kub-rg
This will take some time to complete.
Conclusion
With some easy tools, you can spin up a Kubernetes cluster on Azure and connect it. With the same tooling, you can scale your cluster and talk to Kubernetes or invoke the web UI. Let’s see in further posts what we can do with this cluster.


Leave a comment